
Email is one of most resilient ways to communicate over the internet. Even with the advent of new tools like Skype, WhatsApp and social media platforms like Facebook, it has maintained it usefulness. Businesses have found immense value in using it and solutions like Slack have also not been able to dislodge it.
But because it works on a different protocol, e.g smtp for outgoing emails, people have had problem sending emails from email clients. This has made tech giants like Google and Microsoft have come up with a simple interfaces in form of Gmail and Outlook respectively to help resolve this problem.
This article will teach you how to connect your business email, such as tamedu@mywebsite.com , with a outlook client so you can respond to that mail faster.
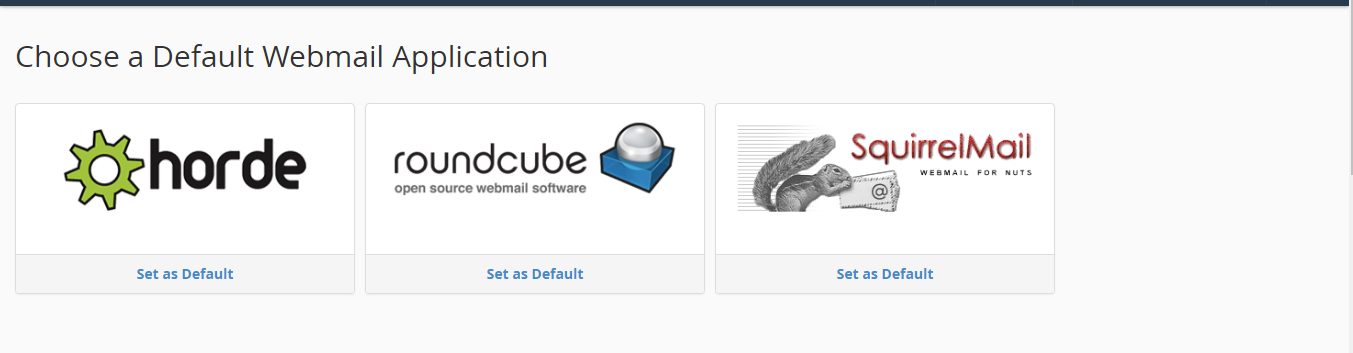
We are going from using one of these ...
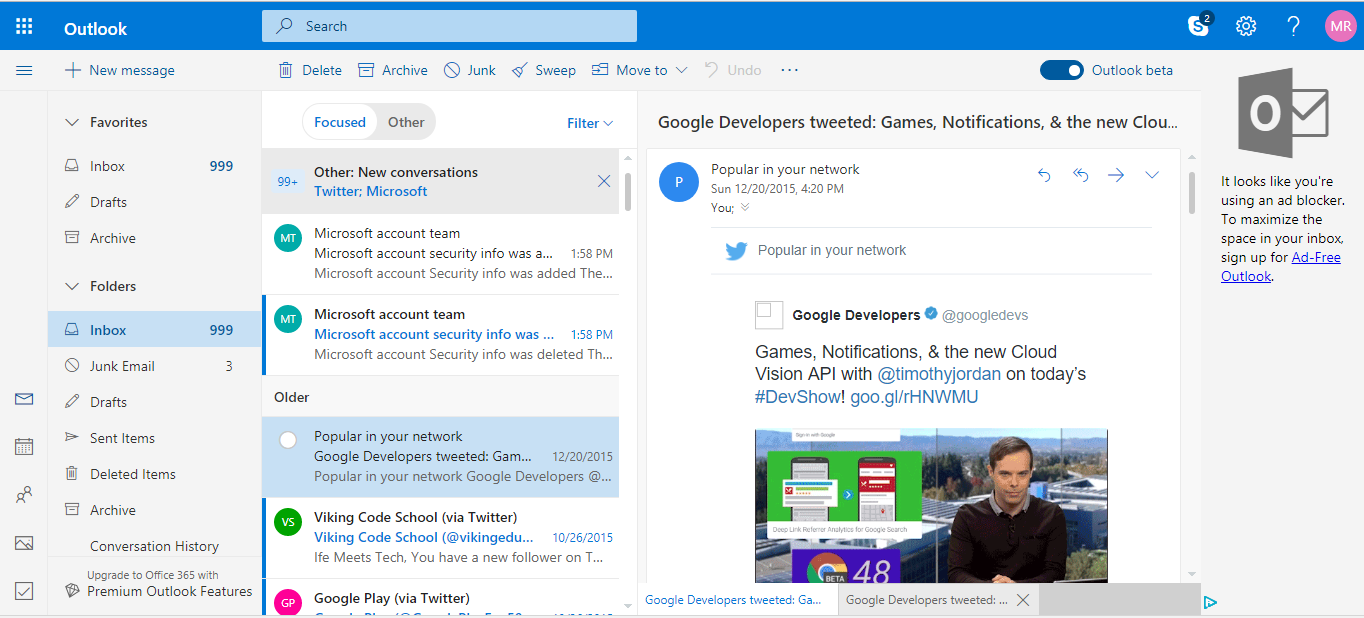
… to using this interface in no time.
First and most obvious thing is to ensure you have Outlook installed on your device. It does not matter what version you use. There are two ways to go about setting this up.
1.
If you have never open your Outlook account, you will get this question.
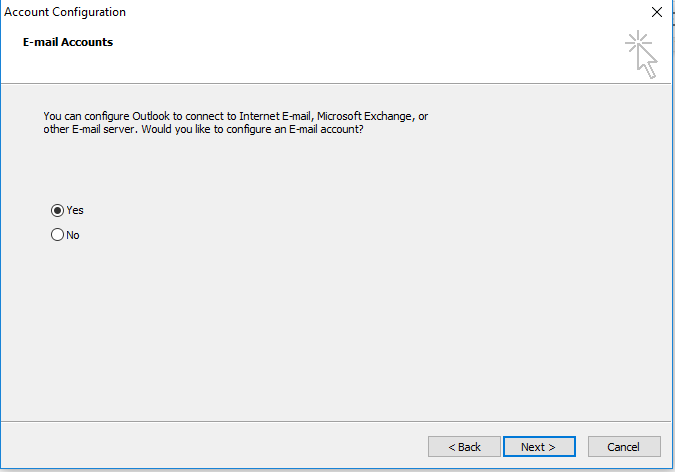
- Click next.
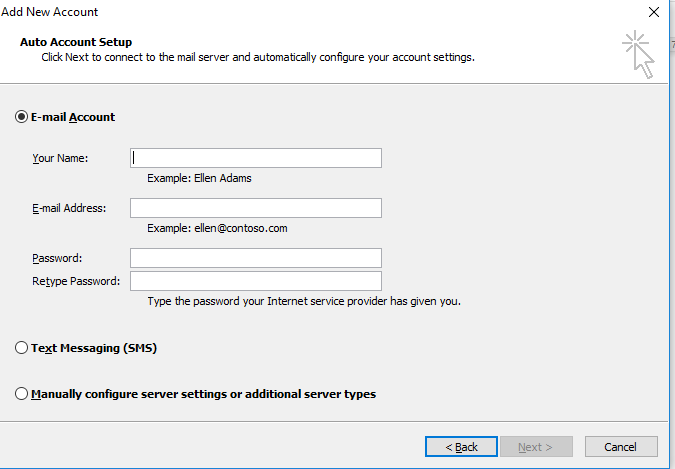
- Fill out this form and click next. Check your password on the email sent to your current email client.
After clicking next, you need to confirm a popup that certify Outlook to connect with your email server over SMTP. And viola, you can use Outlook to send and receive messages instantly.
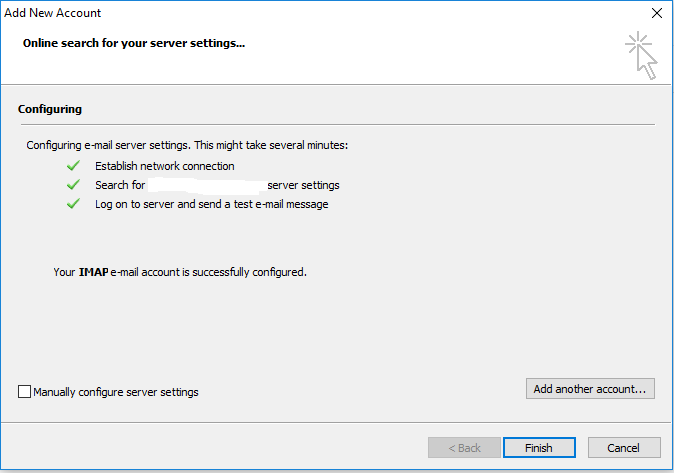
- Certify that Outlook should connect to email server and click finish.
- Voila! You are now using Outlook seamless with your CertaSpace hosted email account.
2.
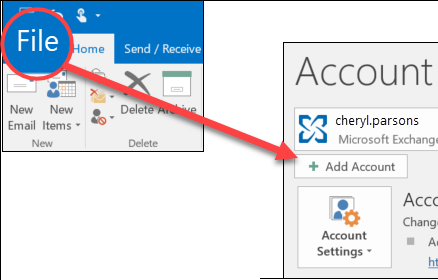
If you already have Outlook, that is even better and faster. Click on your file menu.
1.Yes, just as simple as that.
Click on add account and follow the steps from the above as listed out.
If you are having any problems with sending emails from Outlook afterwards, then check that the following credentials are correct.
- Click on File menu, in the Info sub menu select Account Settings. You should arrive at this page below.
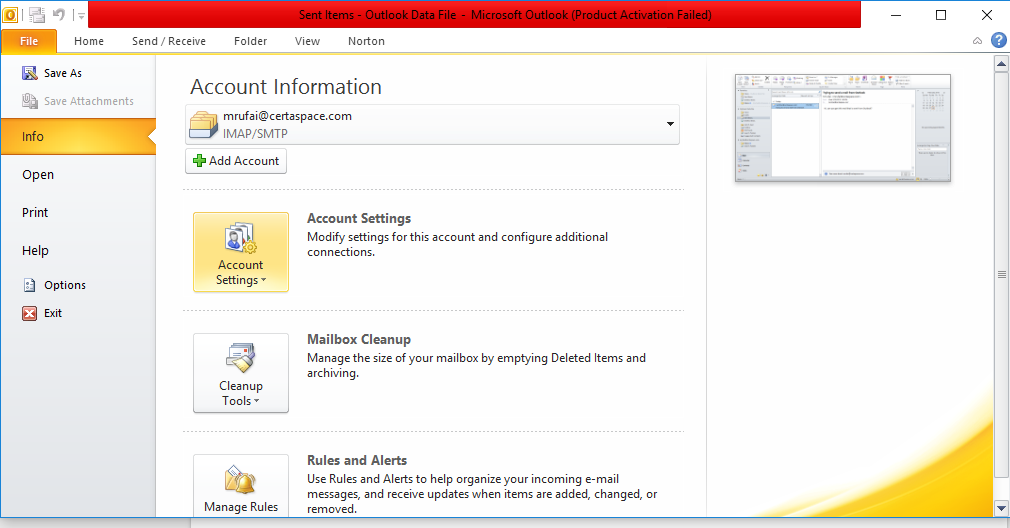
Click on File menu and Info sub-menu to arrive at this page. On getting here, double click on Account Settings.
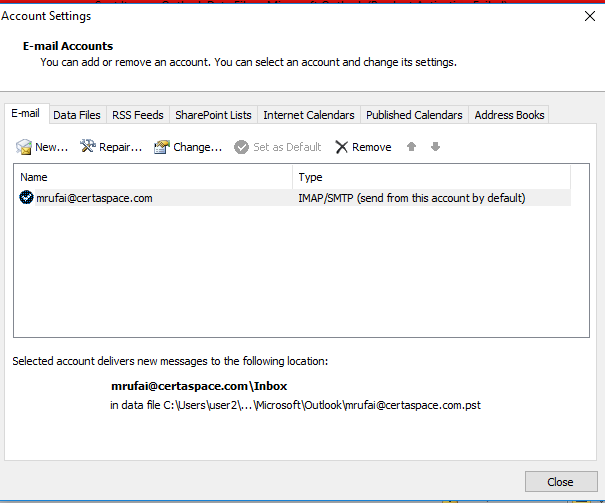
This window will pop up, then double click on the email of your concern.
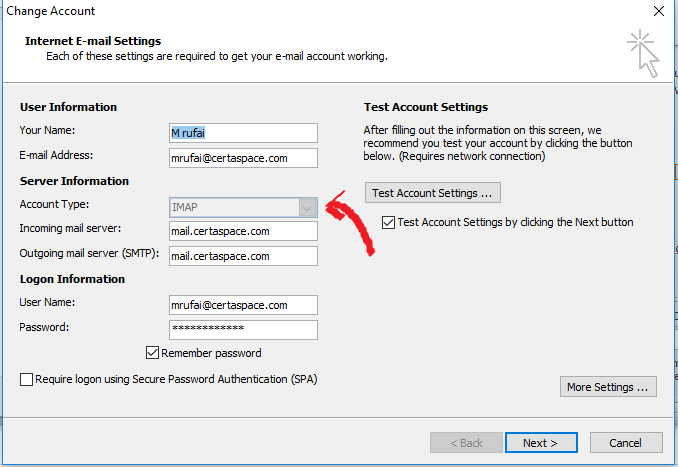
Ensure that the Account type is IMAP. Then click More Settings.
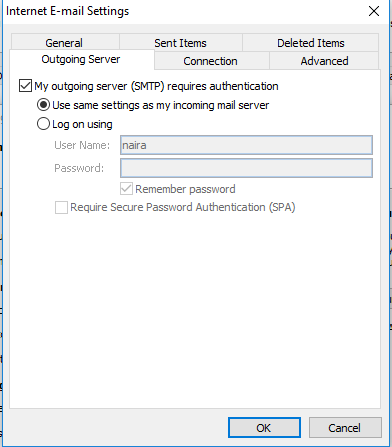
This is an important step. Click on Outgoing Server tab and select My outgoing server (SMTP) requires authentication and Use same settings as my incoming mail server. This will prevent configuration errors on older versions of Outlook.
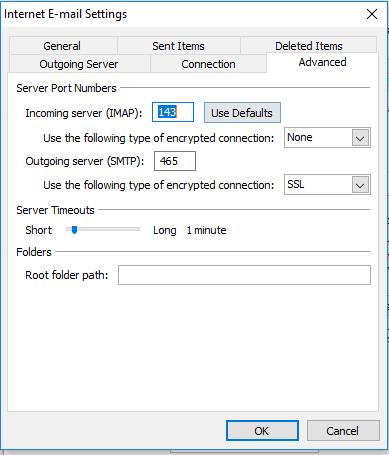
Afterwards, select Advanced. At this point ensure that your outgoing (SMTP) is port 465, the incoming server(IMAP) doesn’t matter here. Click Ok and you are good.
Microsoft Outlook 2016 easily auto configures this settings for you and is less prone to misconfiguration.
Leave a Comment